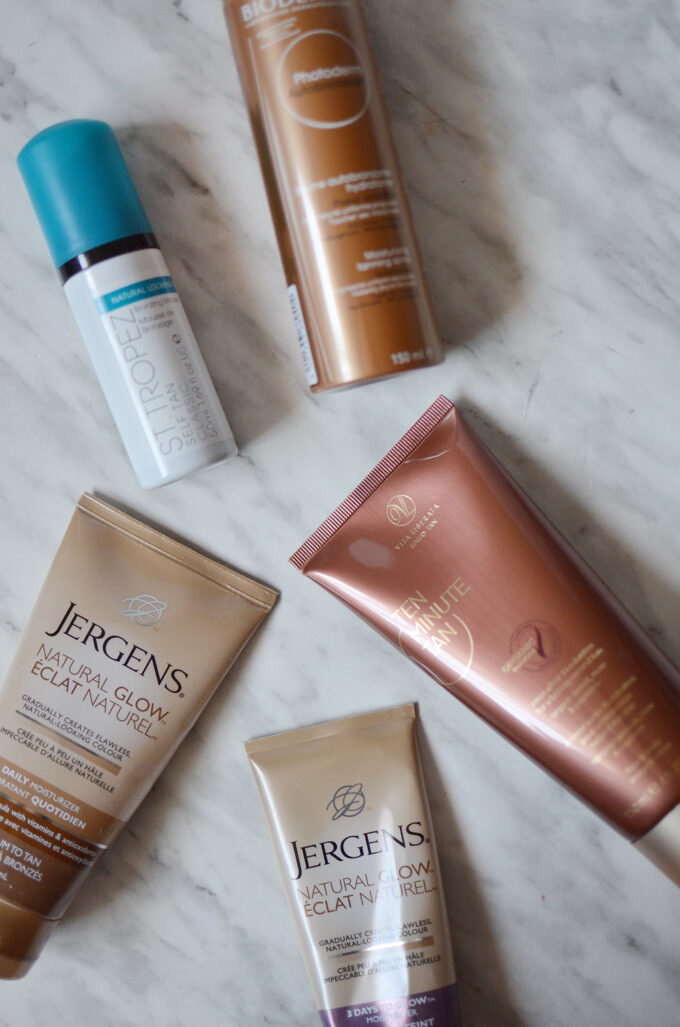
I don’t consider myself an at home tanning expert, but I think having done it for over a year with no major disasters, I can share a few tips and suggestions in case you’re looking to get into it. Plus, there are so many options at the drugstore and Sephora that can it be really difficult to figure out which format, brand or option to go with!
I’m not a fan of the whole at home tanning routine. The time, and effort means something that I want to do in 5 minutes might end up being a 1.5 day routine. Below, you’ll see me highlight which ones are great for skipping that routine and which ones you have to use with the entire routine. If you have any best tips for a great at home tanning routine, please do share with us!
About a year ago, I shared my favourite self-tanners on a budget that are great for beginners, today I thought I’d share with you a couple of new additions and what my feedback are for these!
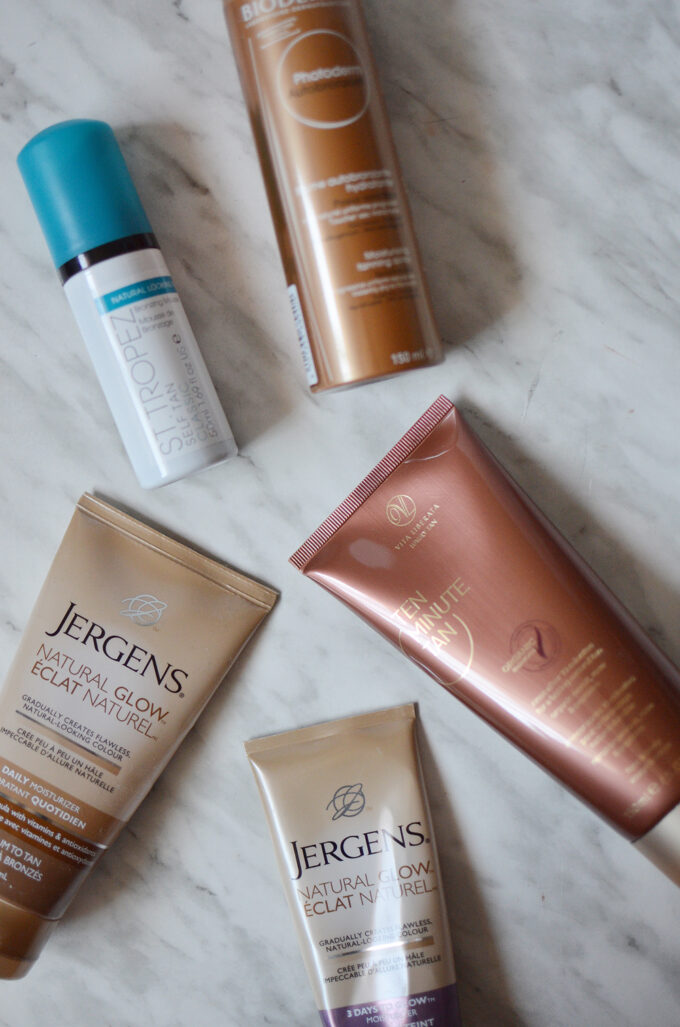
Tips for A Great At Home Tanning Result
Pricing: I have personally not found a significant difference in quality between drugstore and higher-end products. I don’t find the drugstore ones to perform significantly worse or to have worse colour payoff so I think it’s worthwhile to give the drugstore ones a try before splurging on an expensive brand.
Colour: On my medium skintone, most colours are very forgiving, so even if it develops to a more orange-red, it’s not as obvious. One thing I always like to do is try it on my arms first before fully applying it all over my body so if the colours don’t work out, I am not stressing over it.
The Best Tip to Share to a First-Timer: If in doubt, mix your self-tanner with your body lotion. This will significantly reduce the colour pigmentation (i.e. if you just want to know how this colour will look on your skin) and wear time. It’s a great way of testing out a new colour.
At Home Tanning Routine: I don’t stick to any kind of routine at all – I shower like usual and apply the product when I’m fully dried. One thing that I want to start doing is to exfoliate during my shower so the colour adheres better and last longer.
If you like spray / mousse format, try these…
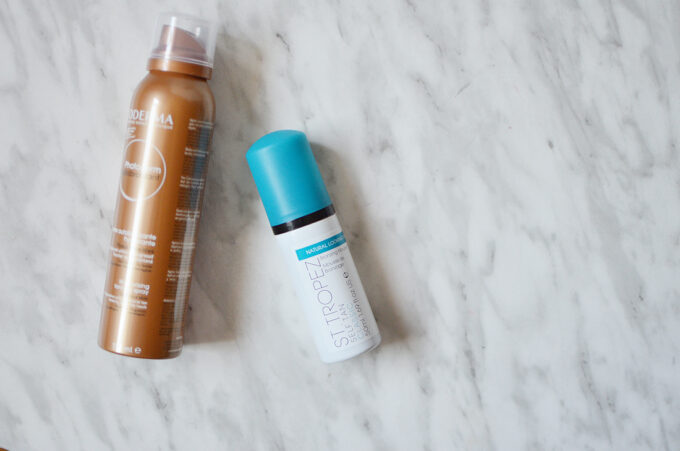
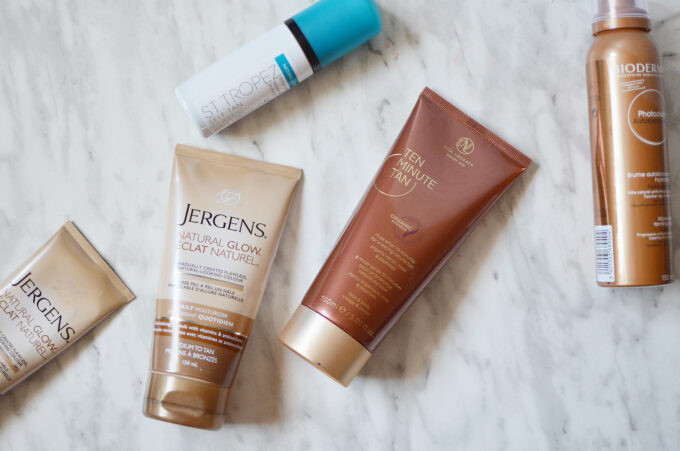
1. Bioderma Photoderm Autobronzant
I decided to lump these two together as I think they’re quite similar in terms of application. The BiodermaPhotoderm Autobronzant is probably the easier one of the two for its ease of application and very forgiving colour. The colourless mist is sprays evenly and I use my bare hands to spread the mist around for an even application. I’m sure you can wear a mitt with it but I just think it would absorb too much of the product. I’ve written a more thorough review of my experience which you can check out here. There is a faint smell that goes away after a while
- Best For: First-time self-tanners who need something a little more forgiving in colour and application at a reasonable budget.
- What Makes this Unique: You don’t necessarily have to exfoliate / shave or do any of the extra work around the elbows/knees/ankles (areas where you can often see discolouration)
- Time for Colour to Develop: Overnight
- Wear Time: 3-4 days
2. St. Tropez Classic Bronzing Mousse
The St. TropezClassic Bronzing Mousse ($12-42, available here) is quite well-known in the world of self-tanning. The poop-coloured mousse is best applied on a mitt (sold separately for $8, and comes in a small and large size). I like that this is a coloured mousse so you can actually see which areas you’ve done as you work your way around the body. It is also available in a smaller size (which I have) for around $12 so you have a budget option to give this a try before committing to the full-size version. The final result is more obvious so this is one product you’ll want to do proper routine ahead of your at home tanning session.
- Best For: More experienced self-tanners who know their way around a self-tanning routine (i.e. exfoliating, shaving, waiting a few minutes to full dry)
- What Makes this Unique: On my more medium skintone, this is a more natural tan than the drugstore ones I’ve used. There is no self-tanner smell on this either.
- Time for Colour to Develop: A few hours
- Wear Time: 4-7 days
If you like cream based tanners, try these…
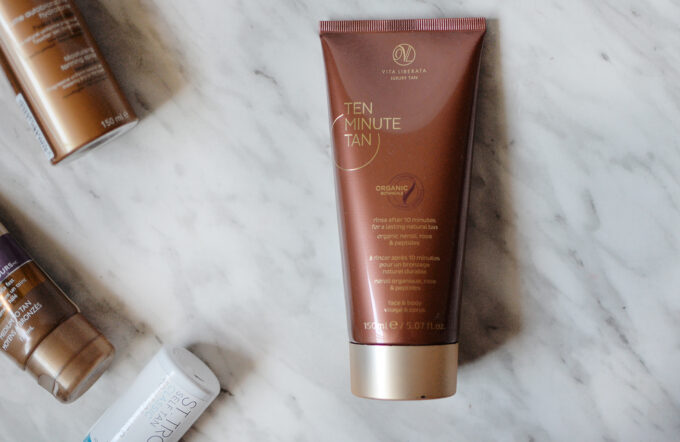
3. Vita Liberata Ten Minute Tan
The Vita LiberataTen Minute Tan ($49, available here) is the latest and newest addition to my self-tanning routine. It also happens to be the quickest for colour to develop though on my medium skintone, I have to leave it a bit longer than 10 minutes to see the barest hint of colour. This is great for those with lighter skintones, and need something in a hurry, but for a deeper natural-looking result, you might have to layer several times or try a darker version from the brand.
- Best For: Beginner and novice self-tanners on the go who need that works at the very last minute. This cream-based tanner gives the barest hint of natural-looking colour.
- What Makes this Unique: You don’t have to spend a day or hours to prepare your skin ahead of using this. You can put this on in the morning, make breakfast, and shower as the colour is very light. Great for any last-minute events.
- Time for Colour to Develop: 6 hours after you’ve applied it for 10 minutes (on my medium skin, 20-30 minutes)
- Wear Time: 3 days
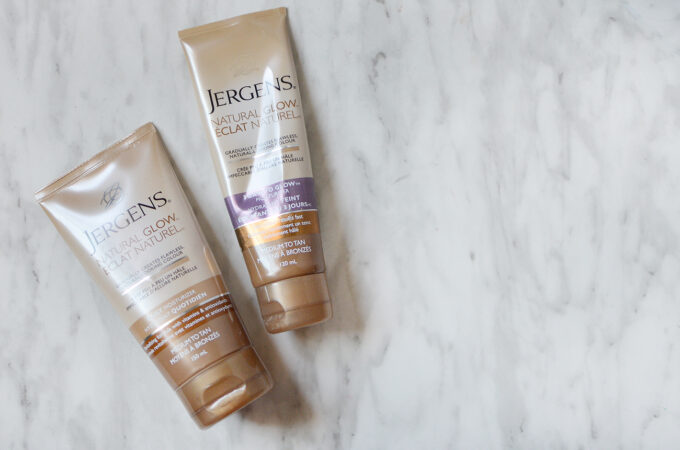
4. Jergens Natural Glow Daily Moisturizer
Surprisingly, these drugstore picks did just as well as their more expensive counterparts. I started out with the JergensNatural Glow Daily Moisturizer but expanded to try out the Natural Glow 3 Days to Glow Moisturizer as well. These are marketed as moisturizer which means you need to apply this more religiously and more often to get some colour. I have really enjoyed using the JergensNatural Glow Daily Moisturizer because it only takes a day for the colour to develop and fade naturally a few days afterwards. This is something I can apply 2x a week to maintain a natural-looking glow. Unfortunately, the colour on this does tend to lean a little more orange/red so I mix this with a lotion to keep it from getting too orange on my skin.
5. Natural Glow 3 Days to Glow Moisturizer
Having tried the 3 day version and the regular one, I am convinced that they are the exact same formula, just packaged differently. This version also takes one day to fully develop to get colour on my medium skintone.
Although both of the Jergens formula are marketed as moisturizers, you sill need to apply with precision to avoid any sort of discolouration, particularly around the legs (ankle area and the back of the knee).
- Best For: Beginner self-tanners who want something subtle, quick and cheap
- What Makes this Unique: It’s marketed as a moisturizer so no advance preparation is needed. Not as expensive as the other options.
- Time for Colour to Develop: Overnight
- Wear Time: 2-3 days
Do you have any favourite self-tanning products or at home tanning tips?

