Lately I’ve been promoting a few of my favourite tools when it comes to photography for bloggers in a few holiday gift guides and over on my recommendations page. As much as it was done with the best intention (i.e. promoting them during Black Friday and Boxing Day), I think it would have been better to preface that with a behind the scene post first to give them some context!
I’ve been complimented on my photography and had a few questions that I thought I could easily clear up in this post. For the second instalment of my Behind the Blog series, I am sharing the photography tools and resources I use to create the photographs on the blog as well as a few things I learned along the way to get the most out of your tools!
Table of Contents
Photography for Bloggers
It’s taken me years to find what works for me and most of it through trial and error. My old images are embarrassingly and laughably bad – you can see them here, here, here and here. I used to think that learning photography had to be expensive and time-consuming but blogging made it fun and more of a hobby than it is a chore! If you’re new to blogging, don’t ever feel like you’re never going to catch up – it’s all a matter or finding what works for you and working at it!
The most important thing I’ve learned about photography for bloggers is that you don’t always have to go with whatever everyone is using – don’t fall to the peer pressure of having to have the most expensive equipments! The entry-level or mid-range model could be just as good for what you need at the moment! Then when you feel confident enough, you can upgrade at your own pace rather than own something that you will struggle with.
1. The Camera
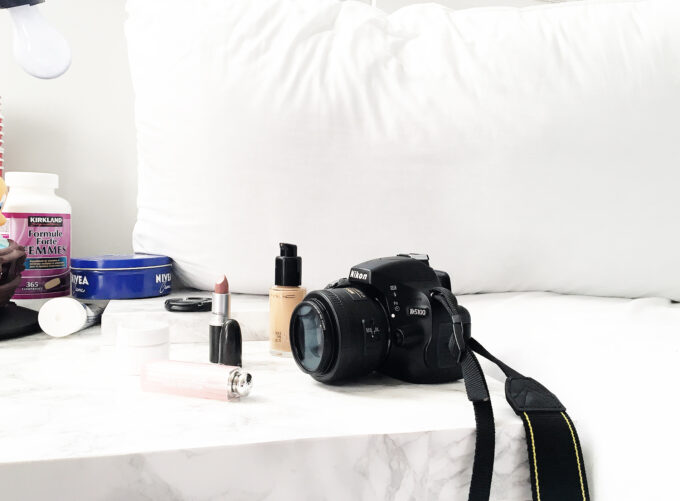
I’ve mentioned in my previous posts that I use the Nikon D5100 16.2MP DSLR Camera and Nikon AF-S DX Nikkor 35mm f/1.8G Lens. Purchasing the 35mm kit has been so game-changing for me – although I’ve owned it for only 4 months, I feel like it’s made such a huge difference to my blog pictures that I went on a spree and updated a whole bunch of images from years ago! I am learning new techniques with this lens too – I only wished I bought it sooner!
Just because most bloggers use a fancy DSLR camera, it doesn’t mean that you are behind if you have a point-and-shoot camera. I only made the switch to my DSLR camera in late 2015; during the 3 years I was blogging before I switched, I was using a 9 year old point-and-shoot camera from Panasonic. How do I know it was 9 years old? It was my Dad’s and I spilled shampoo on it the first time I borrowed it.
That being said, during the 3 years that I was blogging with the point-and-shoot, I was still getting awesome page views, invitations to exclusive blogging events and engagement with my readers! Plus, some of today’s point-and-shoot camera’s are just powerful and costs less! Definitely do some shopping and research before you splurge on an expensive camera!
2. The Props
The props that I use aren’t very fancy at all as I have only my bedroom where I do everything pertaining to blogging. It’s taken years to find what works for me. I’ve used a few things as backdrops from furry white rugs, file folders, bed sheets, white / black construction paper, fabric scraps and most recently, marble contact paper. I prefer a clean-looking photo so I keep the clutter to a minimum.
I love using the marble contact paper ($14, available here) not because it’s “in” right now but because it balances the colour on my photos so much better! When taken with the backdrops I mentioned above, the photos required a lot of editing because they were too yellow / red / shadow-y, etc. The grey tones of the marble contact paper helps neutralize the harshness of the sunlight so my pictures look a lot more ethereal.
3. The Setup
As mentioned earlier, I have a very tiny space to do all of my blogging work. I use my night table to take photos on and occasionally my bed, depending on what kind of looks I’m trying to achieve. I use a $10 Ikea Lack Table which is the perfect size to work as my bedside table and provides ample space for close-up shots for my blog photos!
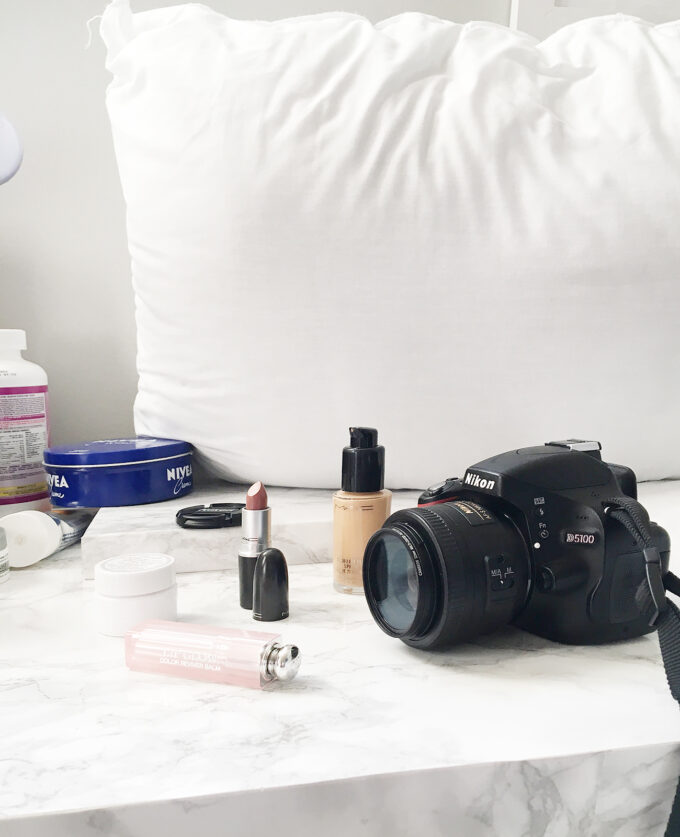
Having a multi-purpose furniture in my room actually makes setup and take down a lot easier – all I have to do is move any books / lamp / beauty bits to the side while I work and put them back together after I was done! You can see what my set up looks like in the picture below – note the daily vitamins, Nivea creme, alarm clock, and bedside lamp. Nothing fancy!!
4. The Schedule
I work full-time during the week so it’s important for me to be efficient when taking photos during the weekend. The weather can often be a bother so it’s really key that I put together everything I need to photograph ahead of time.
I typically spend about 4 hours over the weekend taking batches of photos. I tend to take my pictures before noon or just immediately after – I find the sunlight to be much softer and perfect for those really ethereal feels. I only take photographs when I have natural light – no amount of editing fixes poor lighting and the result is never as good!
I’ve also worked out an efficient photography system for me:
- I brainstorm blog post idea and products I want to feature daily
- Once I identify the products, I put them in little baggies (i.e. ziploc bags) so that I can rotate through them quickly during the weekend
This makes the process seamless and a lot quicker to finish so that I’m not spending my entire weekend working.
5. The Photo Editing Software
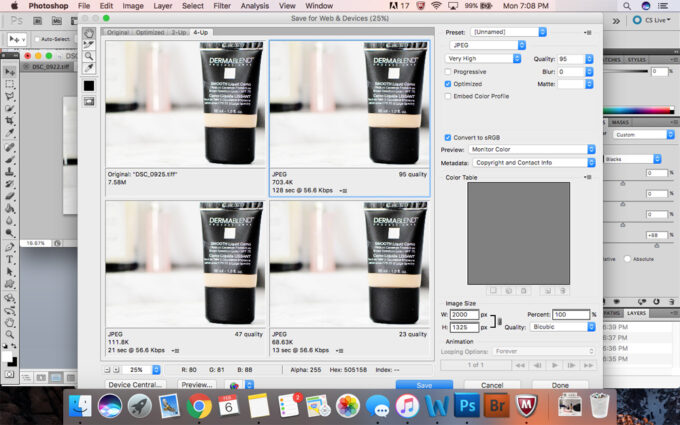
Photoshop is a tool that I’ve been using for about a decade so it was natural for me to use this for all my photos. If you don’t have Photoshop, a few great alternatives include Apple’s Photos App and the free online tool, PicMonkey.
Read More: Behind the Blog | Ultimate List of Free Resources for Bloggers.
6. Additional Tools To Invest In
I highly encourage investing in a few extra tools including an extra memory card (Don’t put all your eggs in one basket!) and an extra battery. I use the SanDisk Extreme 32GB Memory Card which transfers photos quickly and seamlessly between my camera and my Macbook. I also always have an extra camera battery handy so that I can switch them out without losing time to charging my batteries.
I highly recommend emptying your memory card and fully charging your battery ahead the day before you want to work on your photography!
Over to you bloggers! What are your must-have and favourite photography tools for blogging?
Pin this for Later!
