With the myriad of benefits associated with matcha, and the many matcha dessert and drink popping up everywhere, I knew that I had to give Matcha Soy Latte sooner or later! I tried it from David’s Tea and Starbucks – was hooked immediately, but could not justify spending $5/cup! So off to Pinterest I went, thinking that maybe, I could learn to whip it up myself, and ever since I whipped up a batch at home, I’ve been drinking it for breakfast and before I go to bed daily.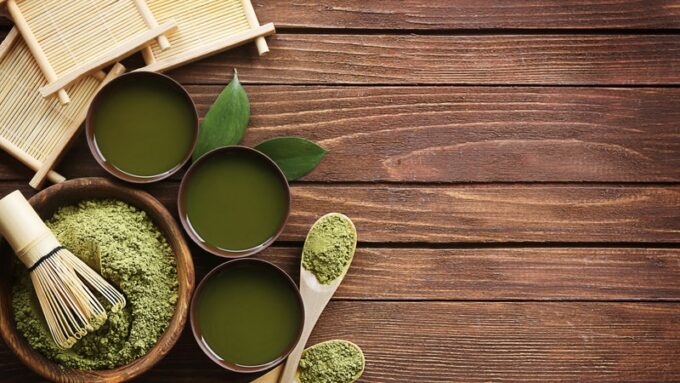
Why Matcha?
Well, I’m sure matcha is somewhat of a buzzword to you at this point. Matcha is the powdered version of specially grown green tea, where green tea leaves grinded to a very fine powder. As a result, you have a lot more theanine and chlorophy concentration in the product than a regular green tea. There’s a lot of benefits to drinking green tea, particularly anti-oxidants and detoxing benefits from the drink. One cup of matcha tea is equivalent to 10 cups of green tea – imagine drinking that!
On its own, matcha can be very bitter and difficult to fully enjoy. That’s why I enjoy drinking it with soy milk which adds “body” to the drink while still letting the matcha flavour shine through. I enjoy it a lot as a hunger supressant because the heavier soy latte is very filling! It’s a really good alternative to dinner when I get home at 10pm.
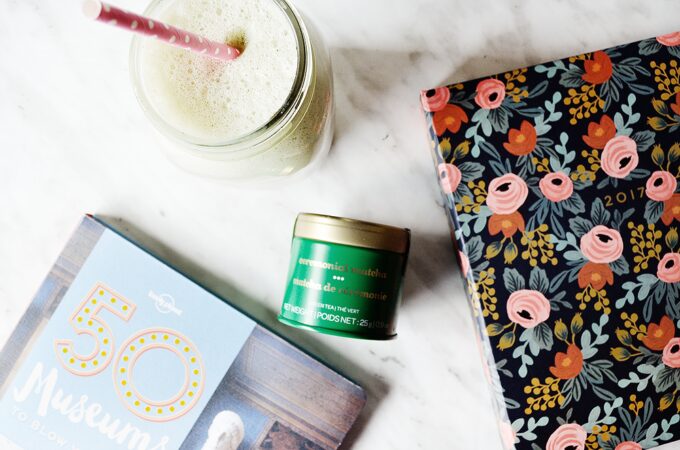
Why Make Your Own Matcha Soy Latte? And no equipment, really?
First of all, the great thing about this recipe, is that the investment that you’ll be doing on the matcha powder itself, will pay off over 15+ cups, so it works out to be just around less than $1/cup, a significant saving (compared to the $4-5 you’d be paying otherwise) that can actually go towards my makeup travel savings.
With the technique that I’m about to show you, you don’t have to invest a matcha equipment set either (which retails for $35 at David’s Tea)!
The second reason is that we are using healthy milk – soy or almond (unsweetened or flavoured) depending on your preference although I’m incredibly partial towards the unsweetened soy-based version. Both Starbucks and David’s Tea associates tend to recommend soy as well since the soy and matcha flavour mesh really well. In addition to knowing exactly what is in your drink, you can control what else you want to go in it (avocado and honey taste quite good!)
The last good reason why you should make your own about it is the fact that in order to make the milk foam that goes on the latte, you won’t need anything more than your microwave and a whisk! So no, you don’t have to spend another $30 on a milk frother to make one at home!
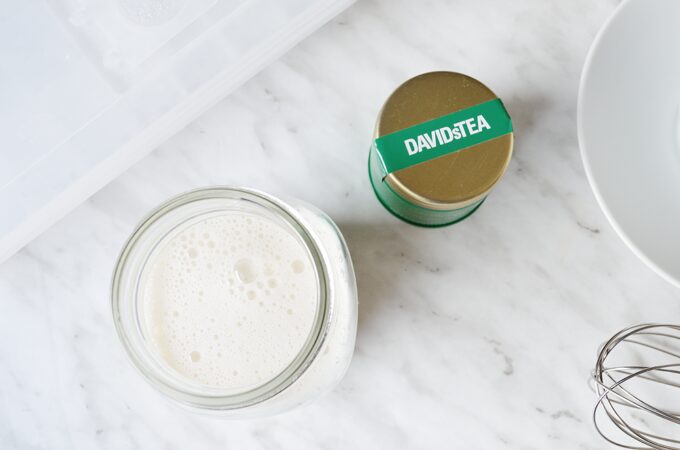
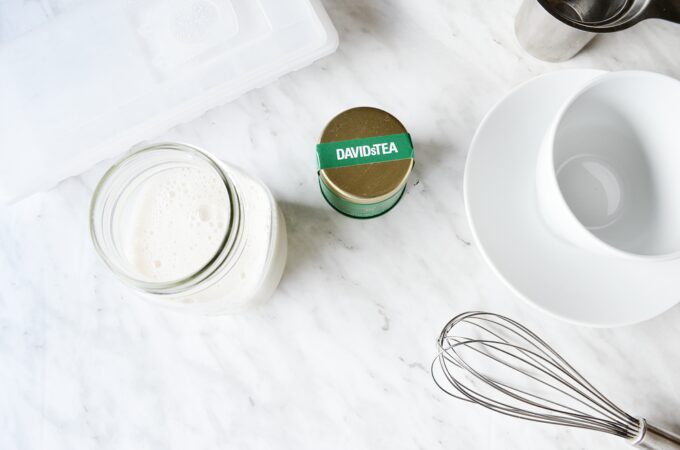
What You Will Need to make a Matcha Soy Latte
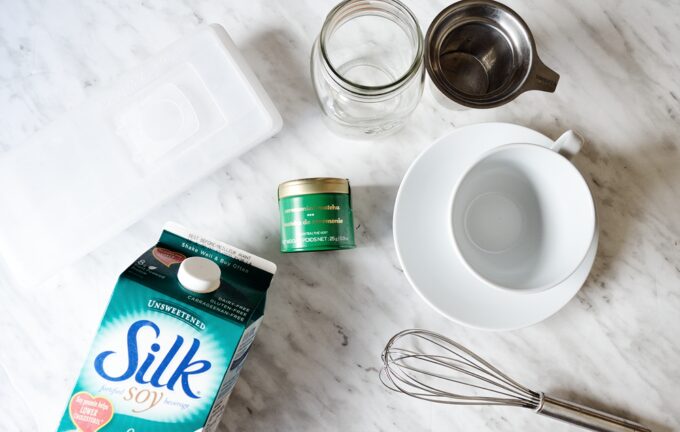
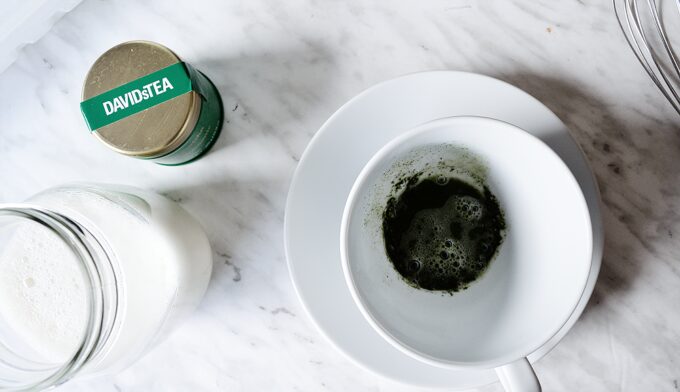
- High quality matcha powder (I use the Ceremonial Matcha and/or Matcha Matsu from David’s Tea)
- A measuring spoon (1 tsp)
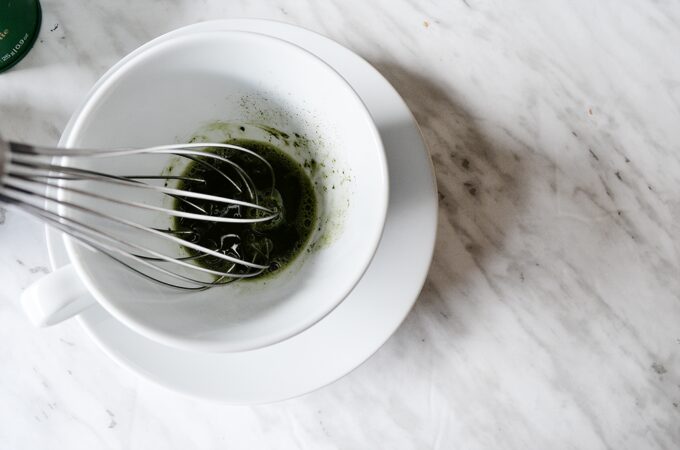
- A whisk to break up the matcha powder
- Soy Milk
- A mason jar or mug (Depending if you want to make the iced or hot version!)
- Ice cubes for the iced version!
This is a 5-minute process or even less, and it’s really a great drink to whip up when you feel like trying something new. The frothy milk is such a delicious addition to the drink.
Putting it Together
The starting process to make both the iced and hot matcha soy latte is identical. The only difference is that you would add ice to the iced version, in the very last step! Before we start, we need to put together the frothy milk that makes this a latte-like drink!
Step 1: Make the Frothy Milk
Measure your soy milk up to 1/2 the height of the mason jar, leaving enough room for the milk to foam up. A good tip is to work with soy or almond milk, both of which I’ve had a good success in when it comes to making the milk rise and foam up. Non-fat or skim milk won’t rise or get foam-y as well so you will not be able to achieve that foam effect without any equipment. I haven’t tested this on regular milk so let me know if you have tried it!
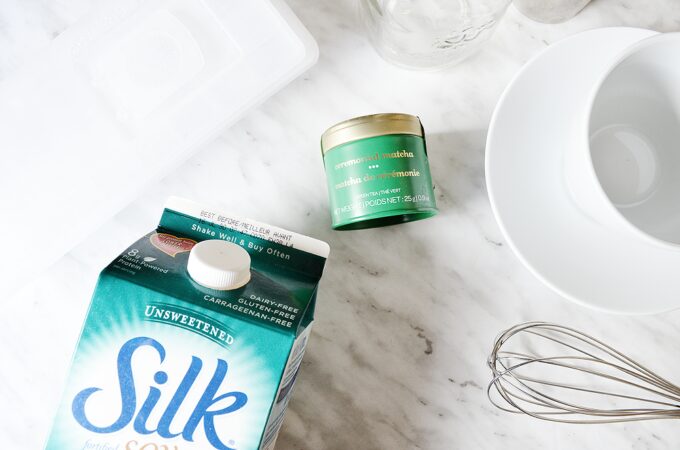
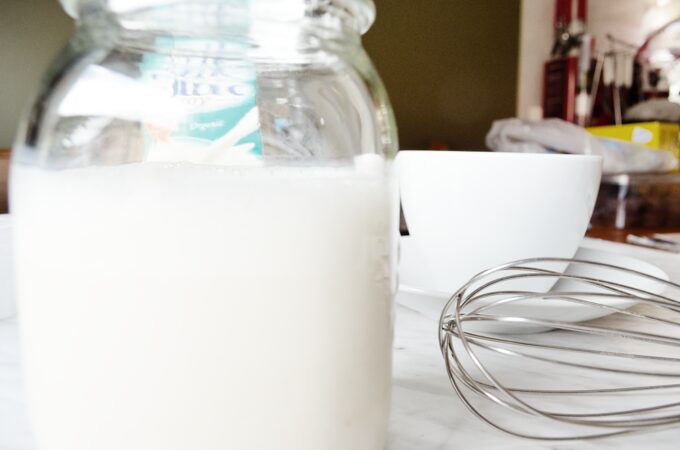
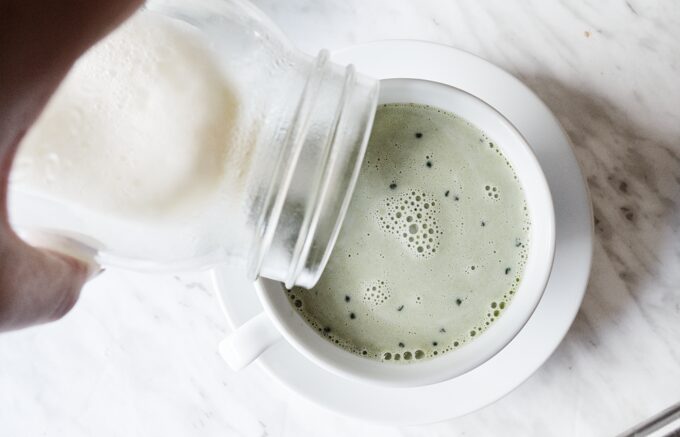
Once you fill up your jar, put the lid on securely, shake vigorously for 30-60 seconds. You want to see the milk double in size and start seeing some bubbles up at the top. Pop it in the microwave to warm it up for 1-1:30 minutes. Keep an eye out so you can check when the foam has risen . The foam will start to deflate after around 3 minutes or so, and you can’t re-create the foam again, so you would have to start over. Make sure you take the hot mason jar out carefully so you don’t burn yourself.
Step 2: Preparing the Matcha – Whisk, whisk, whisk!
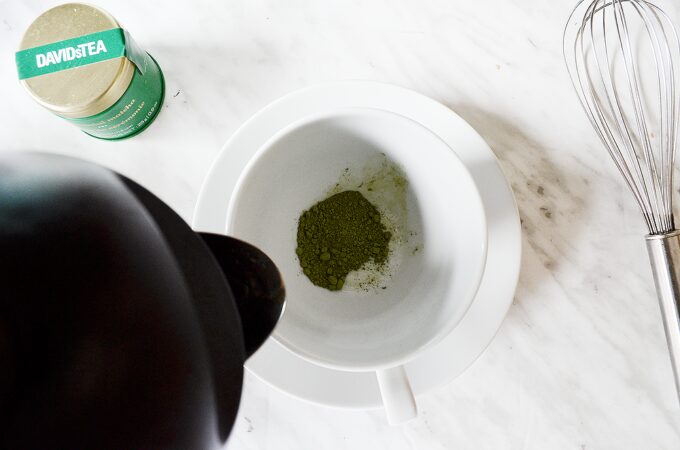
In your clean cup, add 1 tsp of the matcha powder. This is more than sufficient to make a 12oz (i.e. a Starbucks tall) drink. Pour about 3 parts hot water to make a paste from the matcha powder. Use a whisk to ensure there are no lumps. Spend a good amount of time in doing this because matcha powder lumps is not tasty! Once satisfied with the matcha paste, use a spoon to hold the foam while you pour the hot soy milk into the cup/glass. Gently scoop in the foam to top off the latte.
To make the iced version of the latte, just add the ice cubes in!
And now you’re done!
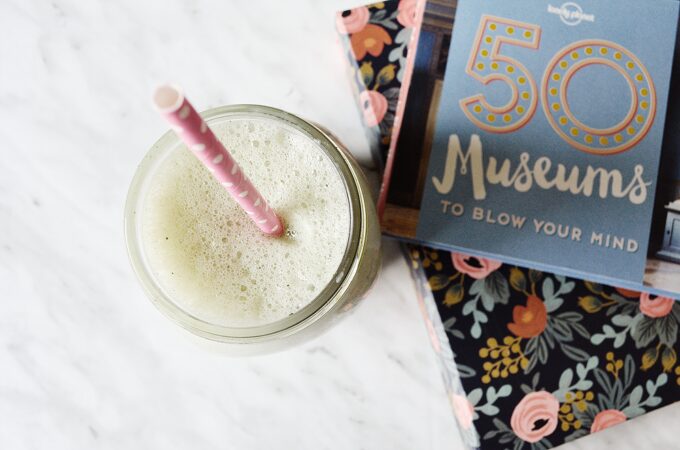
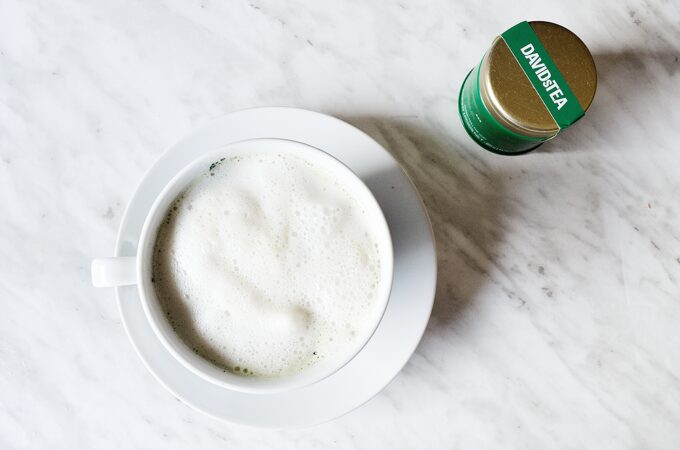
Iced or Hot?
Which version do you prefer? Let me know in the comments below!
I hope this little recipe guide is helpful to you! Let me know if you end up making it and how it worked out for you!
